Connecting LED lights has become a popular way to enhance indoor and outdoor spaces’ visual appeal and ambiance. LED light strips are versatile, energy-efficient, and available in various colors and brightness levels. They add a modern touch to home decor, accentuate architectural features, and provide functional illumination. The convenience of easy installation methods and the flexibility of cutting to desired lengths allow homeowners and DIY enthusiasts to customize their lighting schemes without the need for extensive electrical knowledge.
To successfully connect LED lighting, one should understand the basics of their operation and the components involved. LED strips typically require a direct connection to a power source, which can be achieved through a power adapter or transformer to ensure compatibility with household voltage. It’s crucial to pair the LED lights with a compatible power supply to avoid overloading circuits or damaging the LEDs. Moreover, adding a dimmer switch provides control over the light intensity, creating the perfect ambiance for any occasion. Proper planning and precise execution of each step ensure the longevity and performance of these modern lighting solutions.
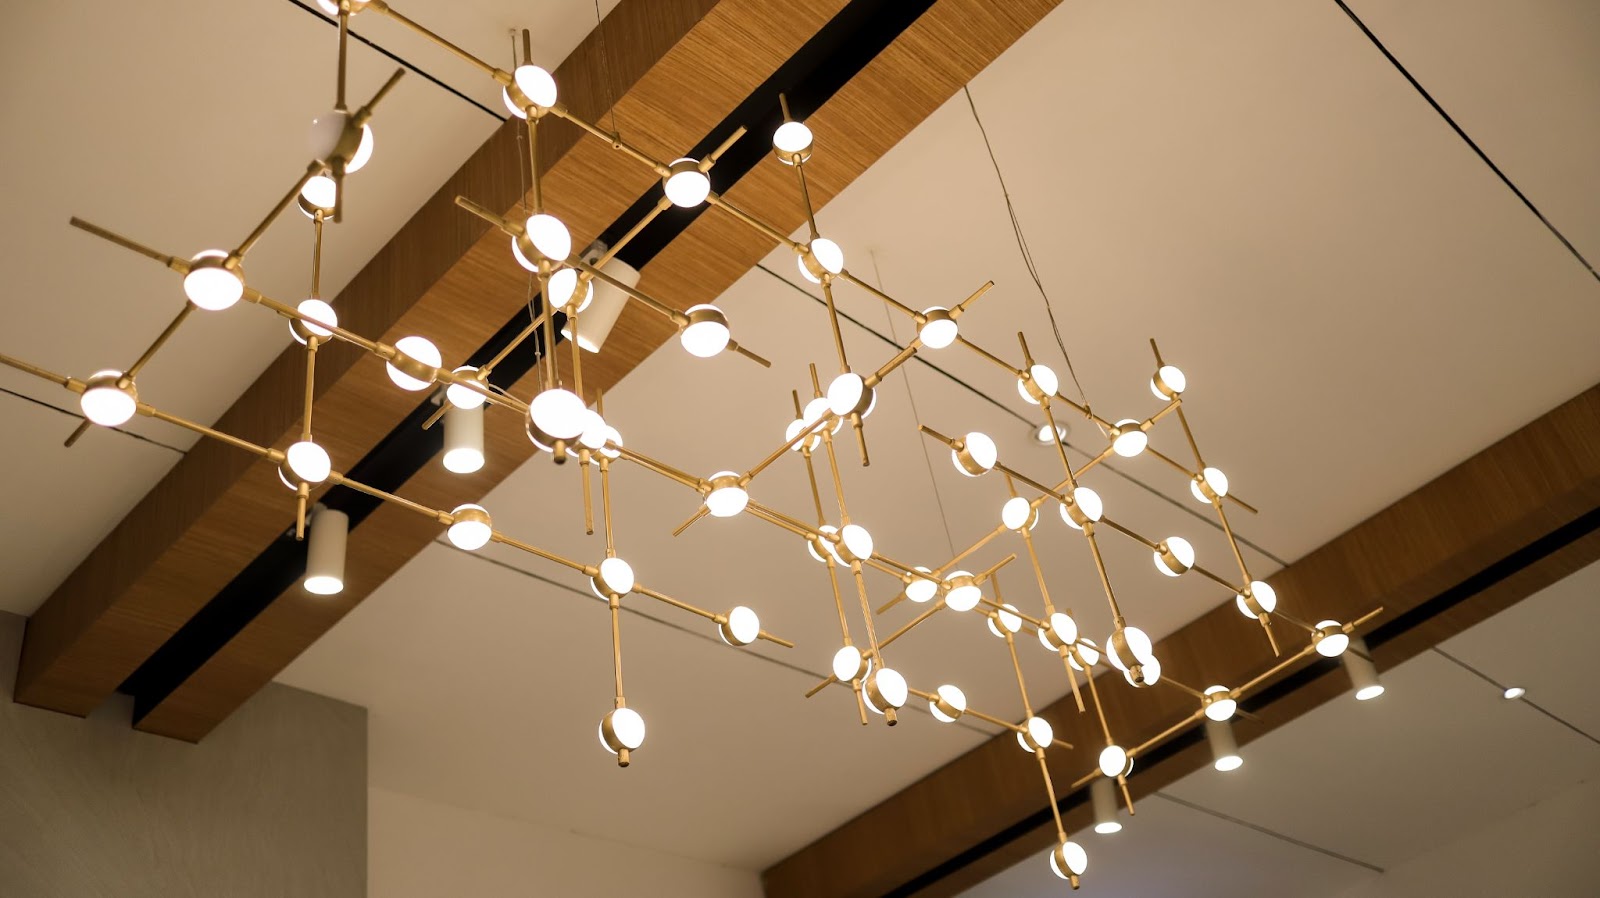
Modern artistic abstract futuristic hanging lamp beautiful interior decoration.
Before incorporating LED lights into any project, one must grasp the variations and advantages these lights offer.
LEDs (Light Emitting Diodes) come in a multitude of types suitable for different applications:
The switch to LED lighting holds several key benefits:
Before starting the installation of LED lights, proper preparation is essential. The installer should gather all necessary tools and materials, and adhere to safety precautions to ensure a smooth and secure installation process.
Connecting LED lights requires a basic understanding of wiring, ensuring a suitable power supply, and effectively linking multiple strips for a cohesive lighting setup.
When connecting LED lights, one must correctly match the polarity. This means connecting the positive (+) lead of the LED strip to the positive (+) terminal of the power source, and the same with the negative (-) leads. Inverting these can lead to a non-functional setup or, worse, damage the LEDs.
The power supply must match the requirements of the LED lights. The voltage should be consistent with the LED strip rating, commonly 12V or 24V. The current rating (in amperes) of the power supply should exceed the total current draw of the connected strips. Use a connector to attach the strip’s power leads to the power source, ensuring there’s no loose wiring.
To link multiple LED strips, one can use connectors such as:
Important: Ensure all connections are secure and that the total length does not exceed the maximum run length recommended by the manufacturer, as voltage drop can lead to dimmed LEDs at the far end.
When connecting LED lights, users occasionally encounter operational issues. Effective troubleshooting can resolve these problems and regular maintenance ensures longevity and peak performance.
Flickering
Dimming
Non-functional lights
Unresponsive to controls
Cleaning
Inspection
Avoiding Stress
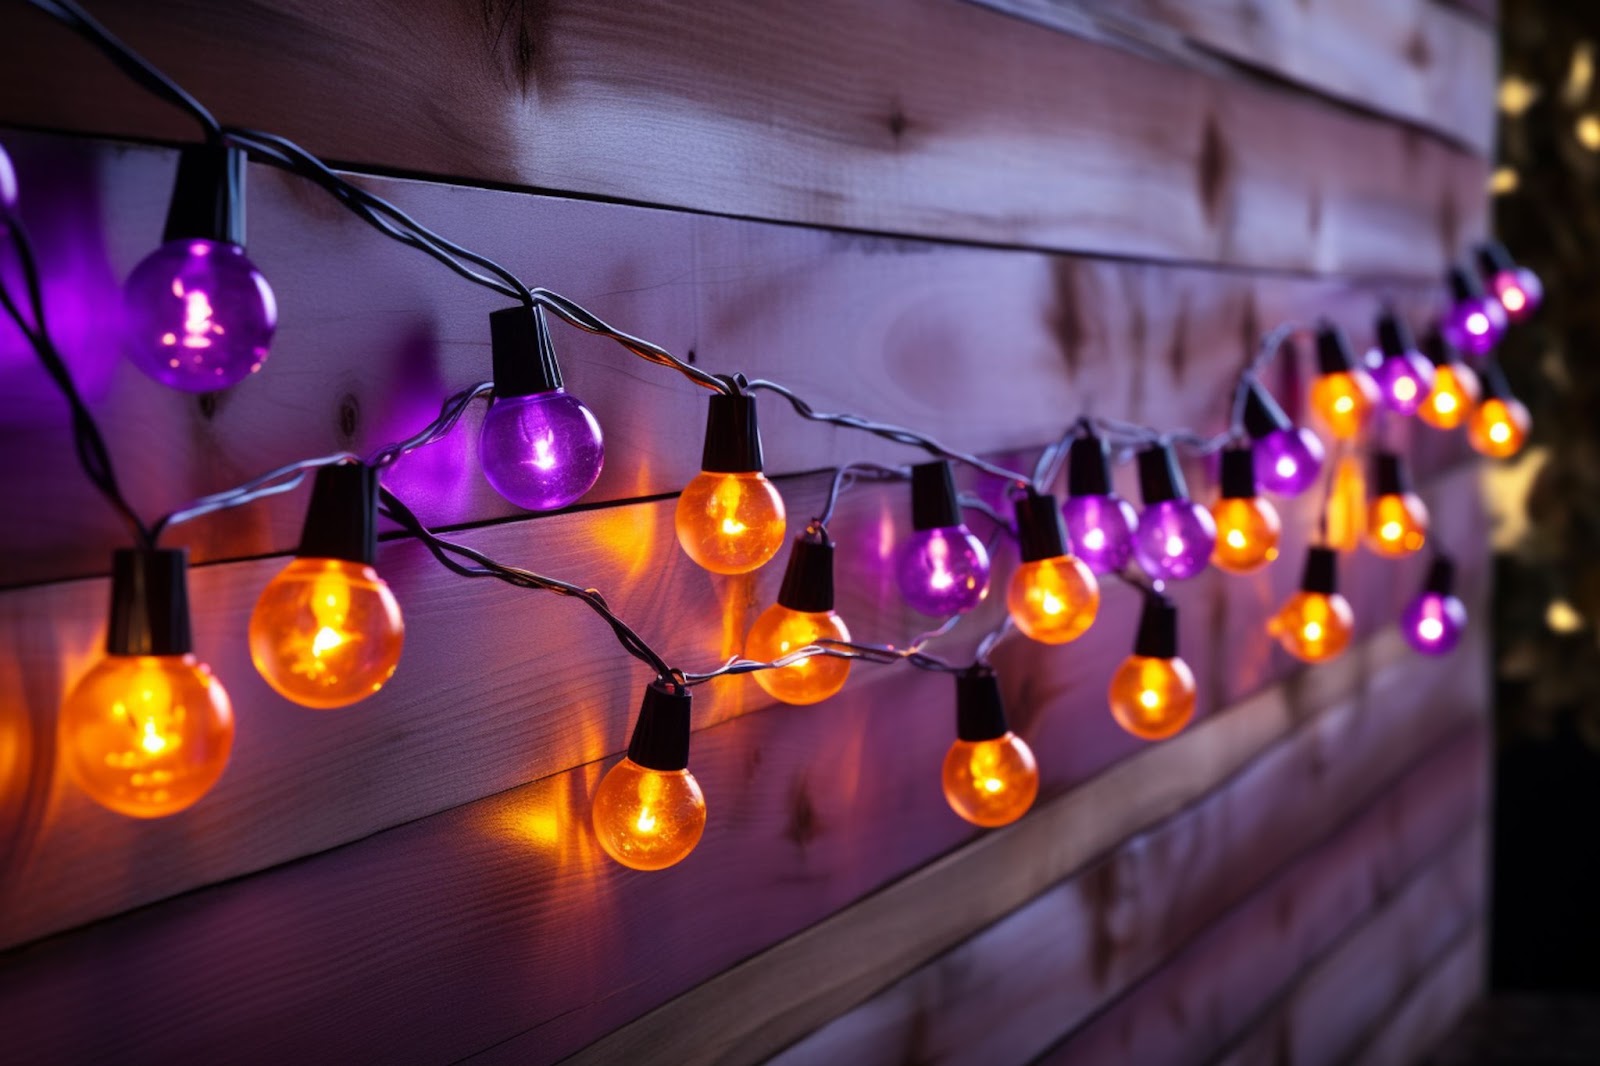
A close-up picture of a string of LED lights hangs on a wood-paneled wall
When connecting multiple LED light strips, one should be aware of the maximum run length to prevent voltage drop. It is also important to maintain consistent polarity across all strips to ensure proper function.
To connect LED strips safely without a connector, one must solder the strips’ contacts directly. This requires careful stripping of the coating and soldering wires to the corresponding positive and negative pads.
Yes, one can connect LED strip lights to a phone through Bluetooth or Wi-Fi using a compatible controller. By pairing with a designated app, they can control the lights’ color, brightness, and patterns.
One can reconnect cut LED strip lights by using designated connectors or soldering. Connectors should match the strip’s pin layout, ensuring that the positive and negative terminals align correctly.
One should locate the positive and negative input ports on the power supply, corresponding to the LED strips’ wires. The positive wire should be inserted into the positive input, and the negative wire into the negative input, ensuring a secure connection.
To properly use a connector for connecting LED light strips, align the connector with the correct polarity. Then, snap the light strip into the connector, ensuring firm contact with the clamps inside the connector.